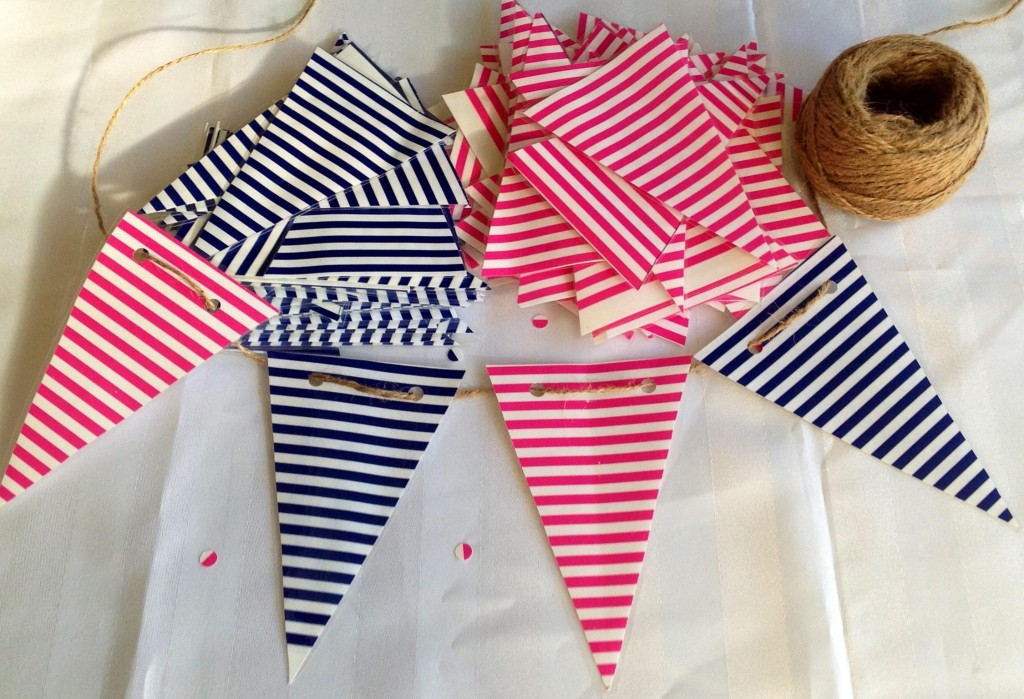
 Here’s a DIY home decor banner that you will love.
The school holidays is just around the corner and I’m thinking, the kids will love it if there’s something cheerful at the gate to welcome them to class. It’s bringing a smile to my face already. I can’t wait to hang this up.
Make your own banner today. This is perfect for the kids’ room and areas that need a bit of cheering up.
Here’s a list of products you need:
- wrapping paper, (magazine pages will work well too. Choose pages with flowers and colourful plants)
- laminating sheets
- laminating machine
- scissors
- hole punch
- rope, ribbon or string
Here’s how to make your DIY home decor banner:
- Start by cutting your triangles and inserting them through laminating sheets. Try and fit as many triangles in there as you can.
- Run the laminating sheet through the machine (set on hot).
- Cut out all the laminated triangles then punch 2 holes at the top end.
- Insert the rope through the holes.
I hope that you enjoyed this inspiration and that you’ll also give it a go. What other shapes will you try? Perhaps spell out the letters to your name for a more personalised banner.
Visit the online store for current Designer Series Paper (DSP) to help you in your project.
Would you like to make them in class? Let me know so we can organise one for you. Bring along your friends too so you can share the experience.
