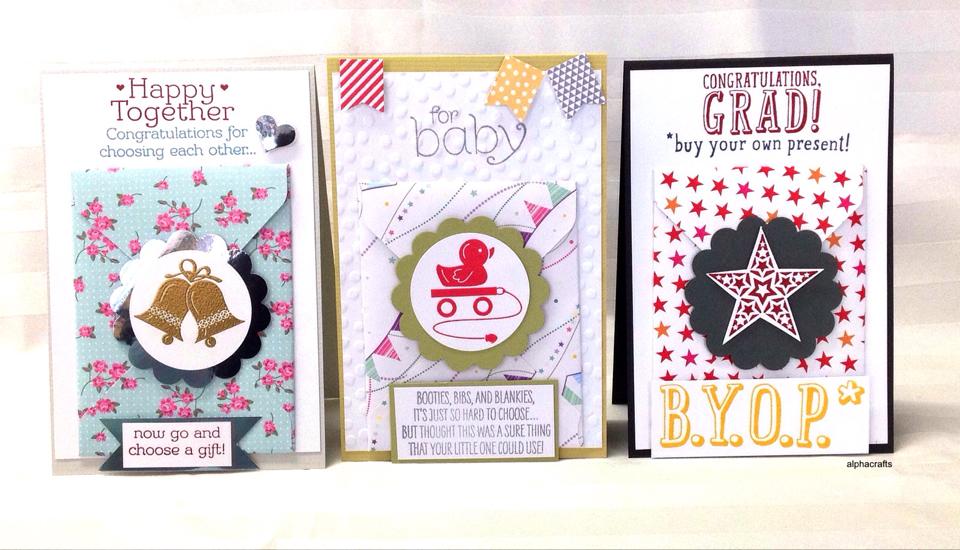
This gift card holder inspiration is fun and easy to make when you have the Envelope Punch Board.
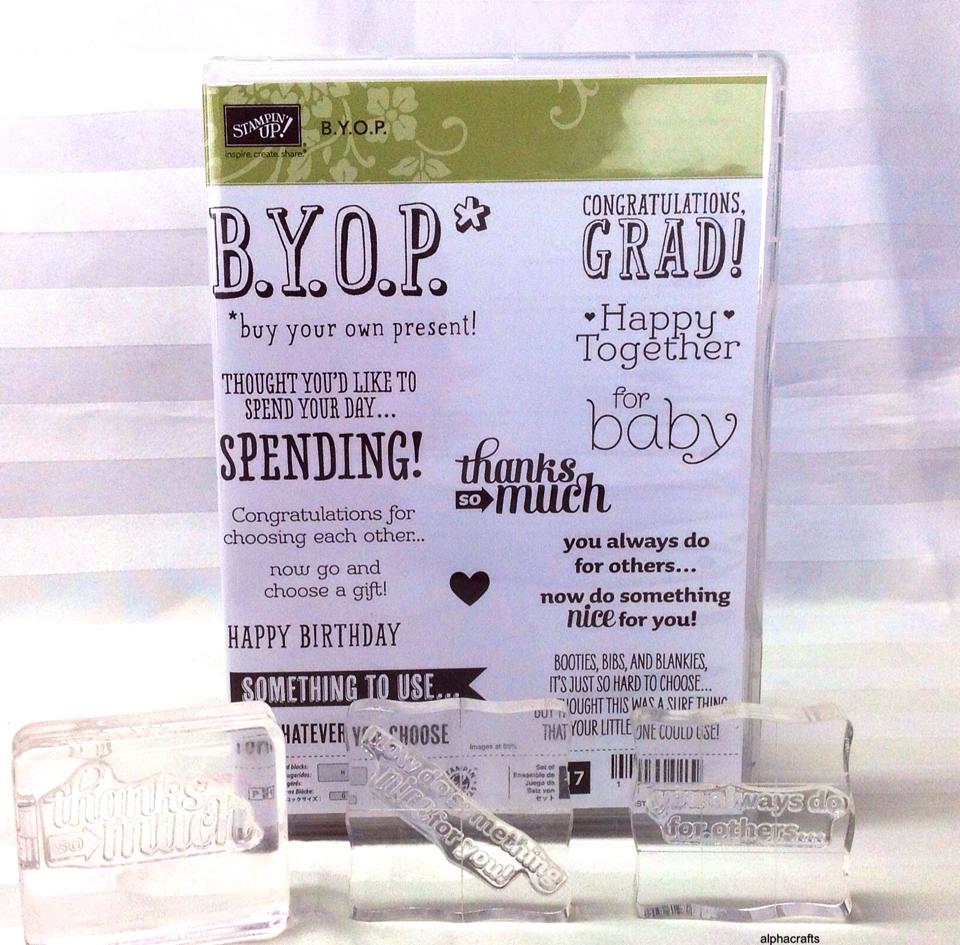
I also used the B.Y.O.P. stamp set because it has greetings and words appropriate for gift vouchers and cash.
Bring out your Designer Series Paper (DSP) too because this is a great opportunity to use them for making the envelopes.
Here’s how to make the graduation card:
- Use a sheet of Designer Series Paper (DSP) to make an envelope. Use the measurement guide and instruction printed on the punch board.
- Next, attach the envelope on a Basic White card front. You may also emboss the card front first if you want texture on it.
- Stamp and cut a star and then attach to a scallop circle cut with a 2-3/8 Scallop Circle Punch. Attach this to the bottom side of the envelope flap. This will also help to open and close the envelope.
- Stamp and cut B.Y.O.P. and then attach to the bottom of the card. Stamp a greeting at the top of the card also.
- Attach gems or sequins for a finishing touch.
Here’s a list of products I used:
- B.Y.O.P. Stamp Set
- Envelope Punch Board
- Basic White Cardstock
- 1-3/4 inch Circle Punch
- 2-3/8 inch Scallop Circle Punch

I hope that you enjoyed and that you’ll give this gift card holder inspiration a go.
What other occasions will you be using this fun-fold technique for? Will you use it for your bullet journal and scrapbooking too? I also use it a lot on my journal spreads for ephemera.
Visit the online store for current products to help you with your card making.
Would you like to learn fun-fold techniques? Let me know so we can organise a class for you. Bring along your friends too so you can share the experience.
