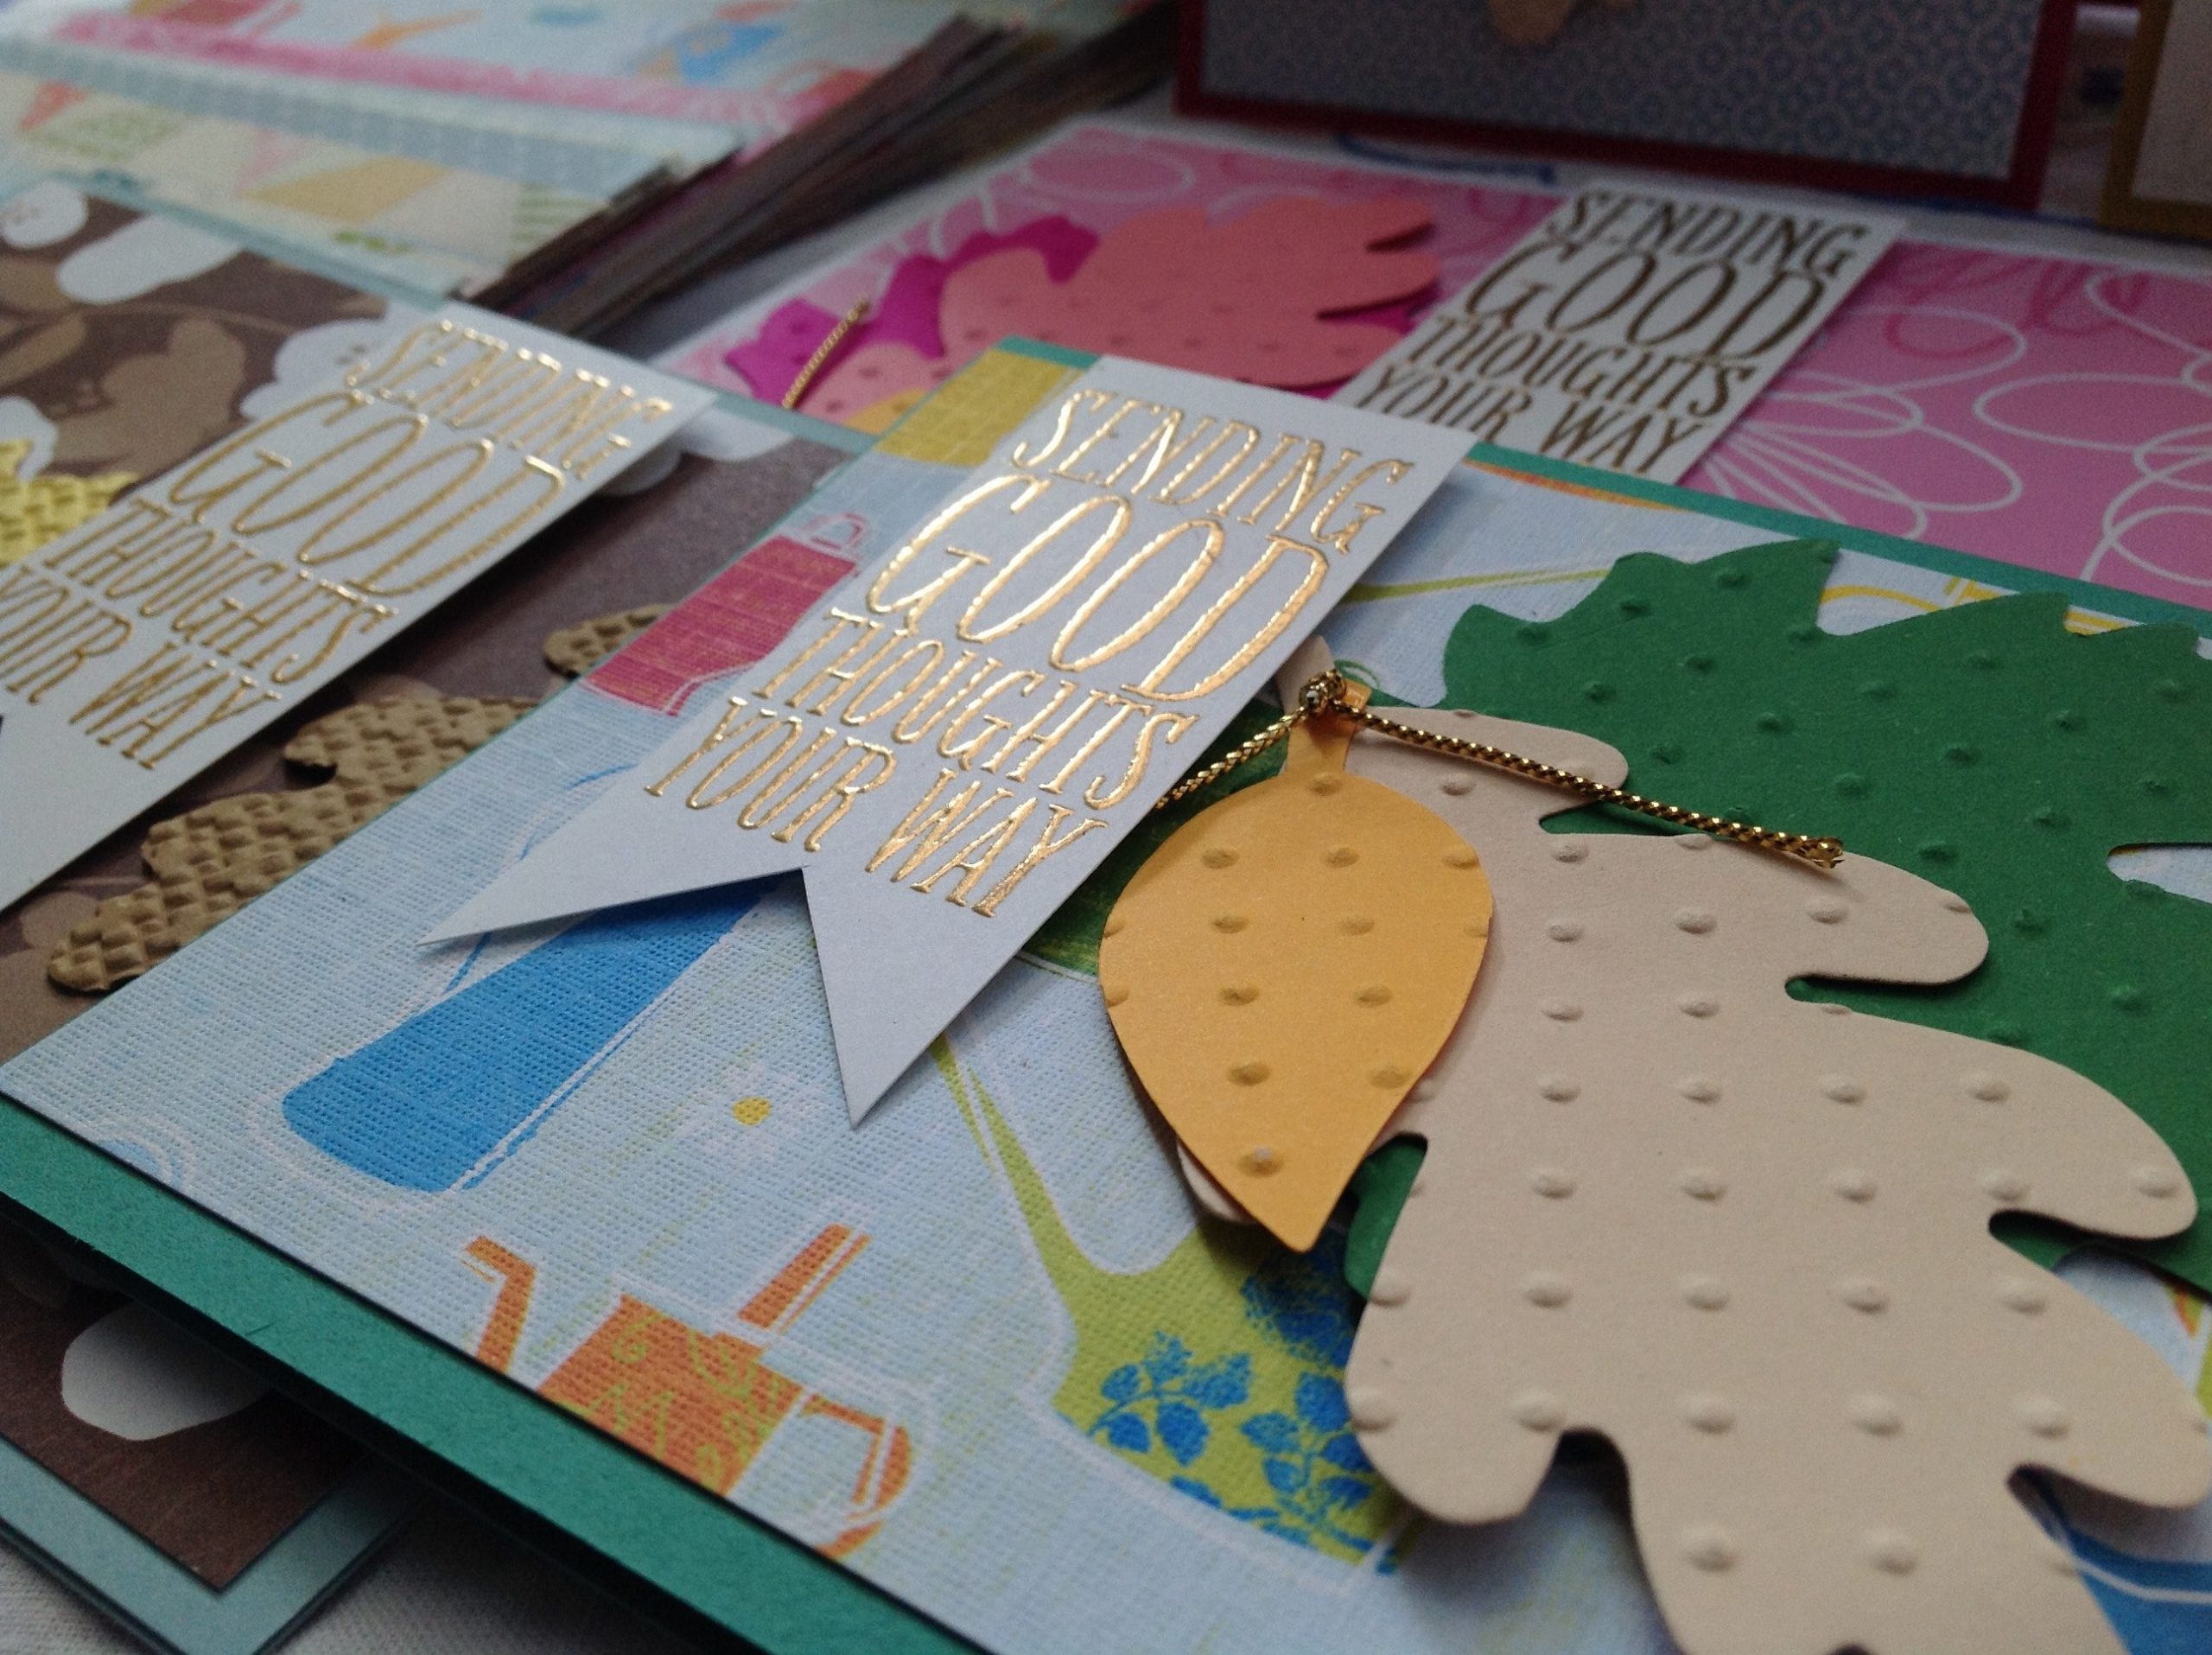

Let’s make heat embossed cards.
Have you tried heat embossing before? It elevates your card to another level by adding gloss and shine. It’s one of my favourite techniques for clean and simple cards.
Heat embossing requires a few essentials:
- Heat Tool – It produces high heat to melt your embossing powder
- VersaMark – This is a sticky clear ink so that your powder sticks to your card, ready to be heated
- Embossing Powder – Fine metallic powder that melts. Available in several colours
- Embossing Buddy – A tool that you use to rub on your card stock before you do anything. This prevents static so that your powder doesn’t stick to places you don’t want it to stick
Now that you’ve got the tools of the trade, you’re ready to emboss:
- Rub your embossing buddy on your card stock.
- Stamp your image using VersaMark ink.
- Sprinkle embossing powder on image stamped with VersaMark.
- Heat with the heat tool. You will notice that the powder will puff up and shine. Do not over-heat as you can burn your work.
Here’s how I made my card:
- Cut to size Designer Series Paper (DSP) and attach it to a card base.
- Heat emboss a greeting on Basic White cardstock and then cut it with a circle punch or dies. You can also cut it in a shape of a banner.
- Attach the greeting to your card.
- Attach some leaves (I embossed mine with an embossing folder) for a finishing touch.
I hope that you enjoyed this card inspiration to make heat embossed cards. It is a lot of fun and a technique that you will love. It’s a little habit-forming so be warned.
Check out the online store for current stamp sets that will look fantastic when heat embossed.
Would you like to learn how learn this in class? Let me know so we can organise one for you. Bring along your friends too so you can share the experience.
