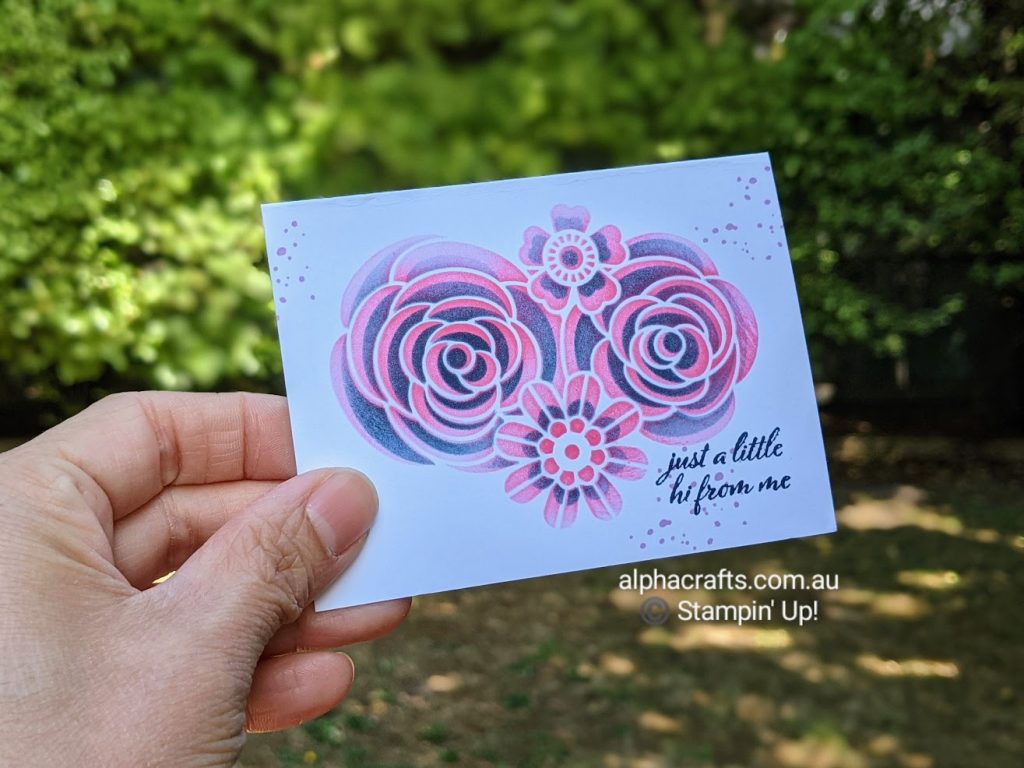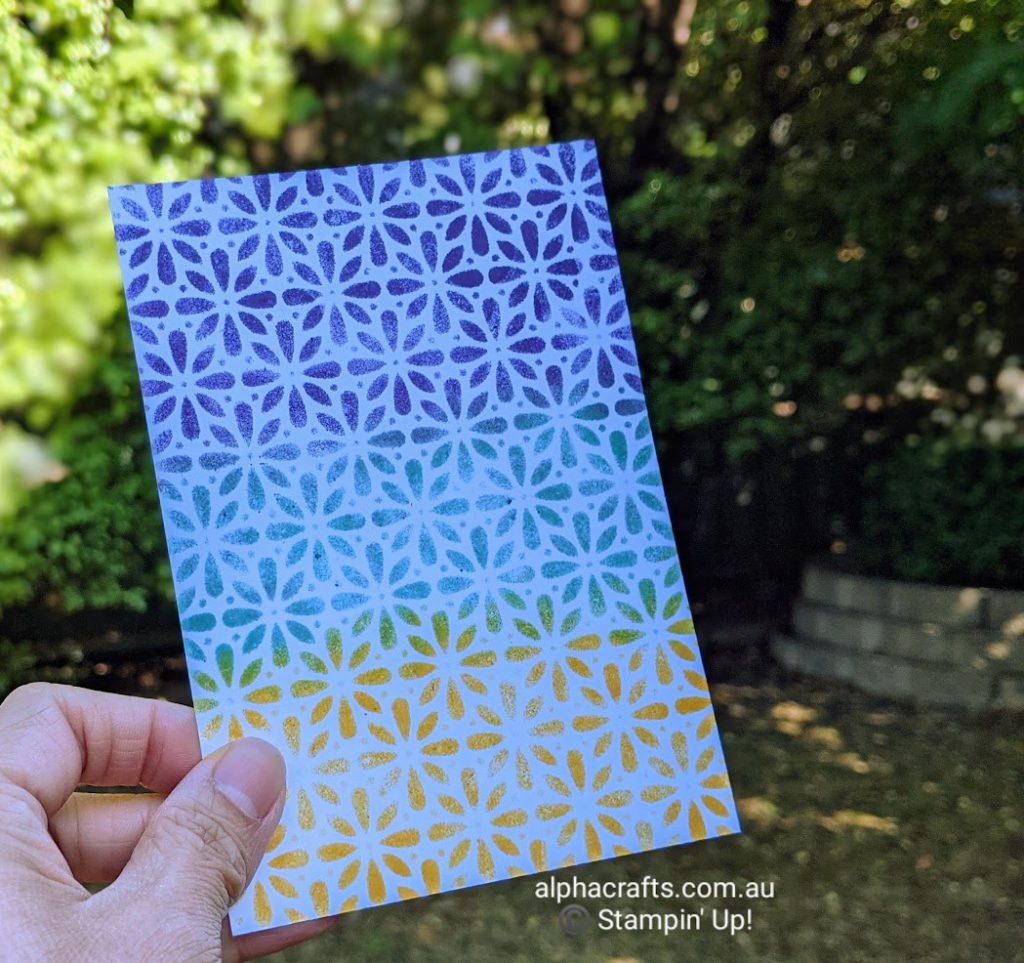
Ombre Technique – It’s an inking technique that I enjoy using blending brushes. The aim is to overlap the colours but the transition should be subtle. It’s as if the colours are bleeding onto each other.

Helpful tools for this technique will be blending brushes, sponge daubers, decorative masks and a colour wheel (to help with colour combination). Make sure that you make your own colour wheel based on ink pads that you have.
Decorative masks are great for patterns and beautiful designs. If you’re looking to purchase them, there are many masks available at the online shop. You can also use intricate dies for this technique. To make your own masks, use acetate, vellum or thick cardstock.
Here’s how to ombre:
- Pick 3-5 ink colours that coordinate.
- Attach the decorative mask on a piece of Basic White Card Stock with temporary adhesive such as washi tape or painter’s tape
- Starting with the darkest hue, ink and blend with a Blending Brush until you finish with the lightest hue. Here’s a tip: to minimise stark or harsh inking, blot the blending brush on a piece of scrap paper to get rid of excess ink. Overlap the colours when blending so that they bleed smoothly from one colour to the next.
Experiment with decorative masks. Try inking the patterns in different directions – vertical, horizontal or at an angle. Also, try inking just a portion of the mask for something different.
Here’s a list of products I used for the projects above:
- Basic White cardstock
- Gorgeous Grape Classic Stampin’ Pad
- Melon Mambo Classic Stampin’ Pad
- Coastal Cabana Classic Stampin’ Pad
- Daffodil Delight Classic Stampin’ Pad
- Blending Brush
- Sponge Daubers
I hope that you enjoyed this technique and that you’ll also give it a go. I’m curious to know how yours turned out.
If you would like to learn ombre technique in class let me know so we can organise a suitable date and time. Bring along your friends too so you can share the experience.
Are you also looking for other fun projects? Check out my events and book in.
