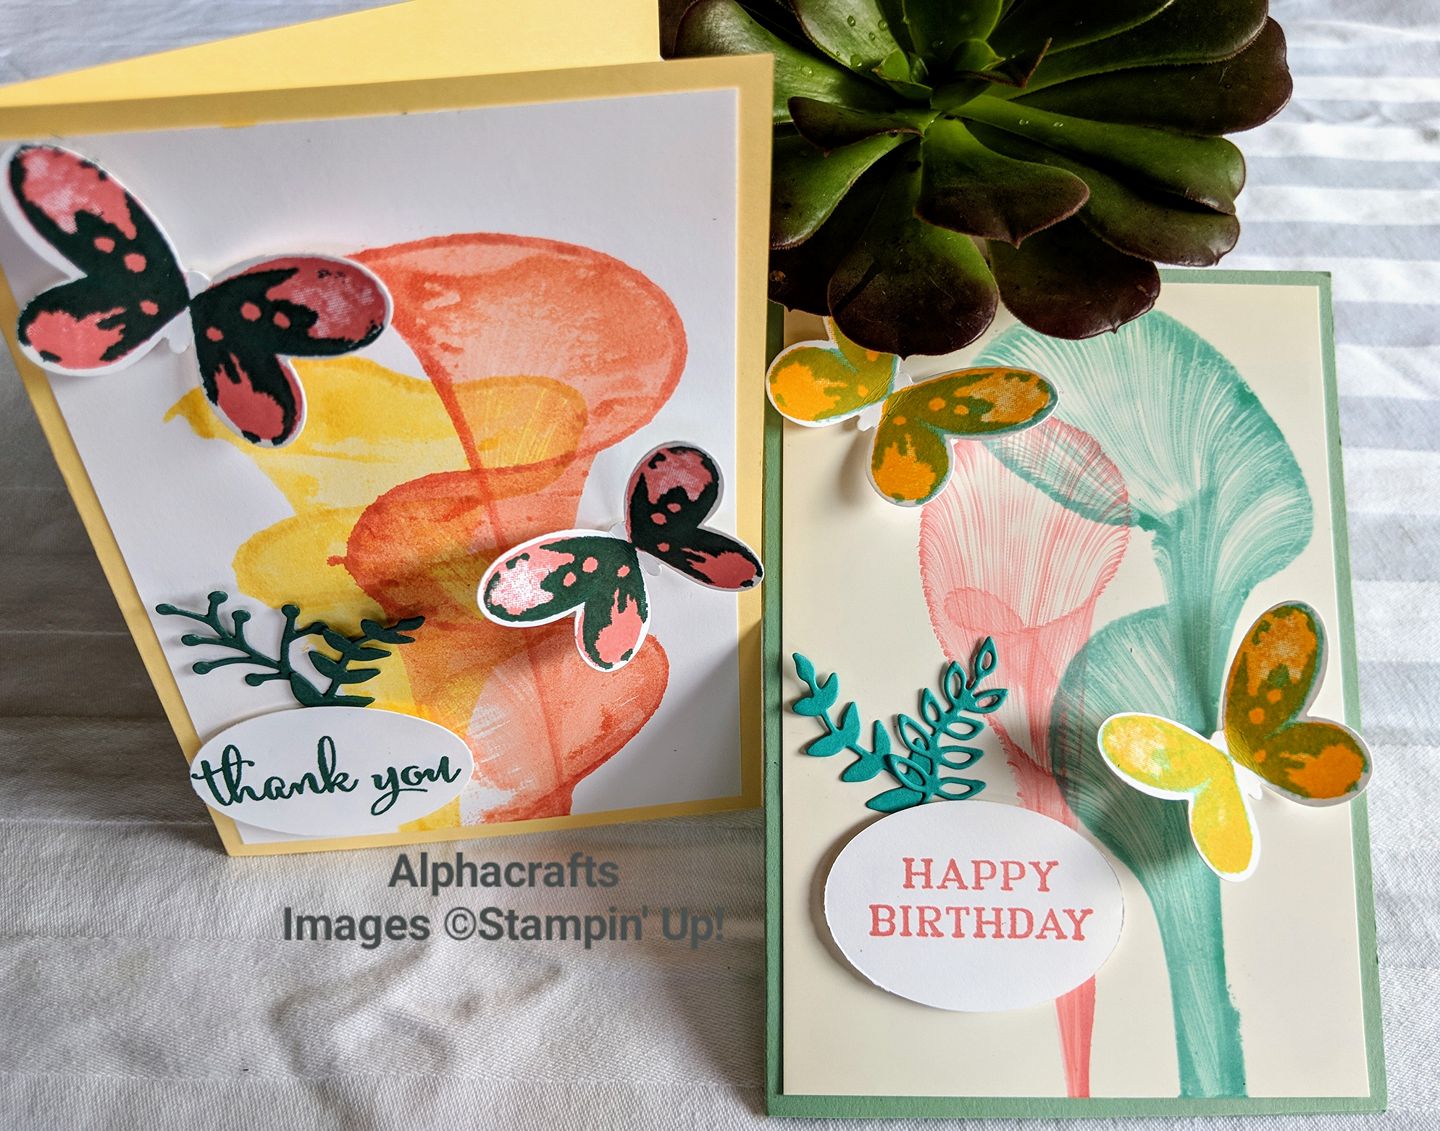
String art technique is easy and lots of fun. If you’ve got string and ink pads at home, you’re set to go.
Not only is this technique so much fun, it’s also easy to share it with kids and crafty friends. What a fantastic excuse to get together for a crafty afternoon with your besties.
You will need:
- Cotton string that you normally use for crochet or knitting projects, preferably white.
- Paint, ink refills, watercolour or any colouring agent of your choice as long as it’s liquid.
- Small plates
- Basic White Card Stock
Here’s how:
- Cut a long piece of string, around 18 inches long.
- Prepare some inks/paint on your small plates.
- Dip and soak your string on your prepared plates of ink/paint.
- Wring out your string for any excess ink/paint because you don’t want it to be too wet. If it’s dripping then it’s too wet.
- Place your card stock on the table. Then, slowly lower your string on the card stock in a spiral shape. I like to form an ‘S’.
- Place another card stock on top of your string, so now you now have a piece of string sandwiched between 2 card stocks.
- With heavy pressure on top of the 2 sandwiched card stock, pull the string out.
- Remove the top card stock and see your unique work of art.
- Have a look at the top card stock where you’ll find a mirror image. Now you’ve got 2 images to work with which gives you 2 cards in one go.
For my cards, I used my ink pads and ink refills. Because cotton yarn is absorbent, I didn’t have a difficult time inking my string.
I hope that you enjoyed this inspiration and that you’ll also give the String Art technique a go.
Visit the online store to stock up on your supplies of ink pads, refills and card stock.
Would you like to learn this technique in class? Let me know so we can organise one for you. Bring along your friends too so you can share the experience.
Are you also looking for other fun projects? Visit my events page and book in. There’s always something new to learn.
